
Requirements:
• Marijuana seeds ![]()
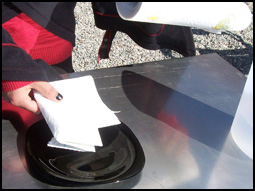
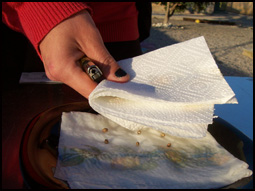
• 2 dinner plates 
• Some pieces of paper towel 
• Distilled water (or cooked ) ![]()
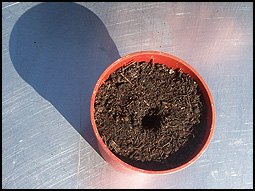
• Germination soil. 
• Plant jars, small ![]()
• Plant jars, large 
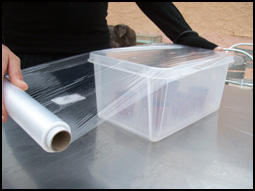
• Transparent foil 
• Strip light (fluorescent lamp preferable colour code 88) 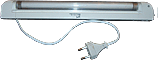
-------------------------------------------------------------------------------------------------------------------------------
DAY 1
-------------------------------------------------------------------------------------------------------------------------------
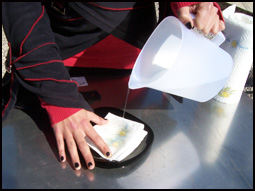
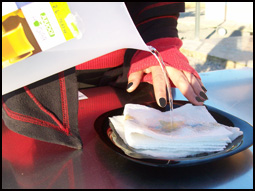
Cooked tap water also works but be sure it's cooled off!
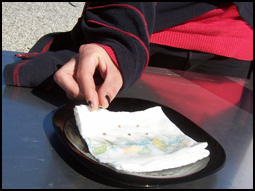
Give the seeds a minimum space of 1cm² (0,155 sq inch)
PAY ATTENTION!
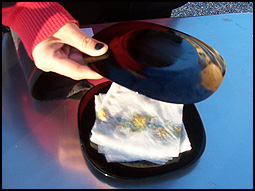
Despite the plate lid, there is a risk that some water evaporates.
Check the humidity inside the paper towel once or twice daily and humidify again in case it has become dryer.
The seeds will die when the paper towel dries up!
-------------------------------------------------------------------------------------------------------------------------------
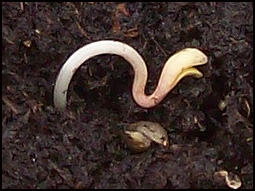
Day 5
-------------------------------------------------------------------------------------------------------------------------------
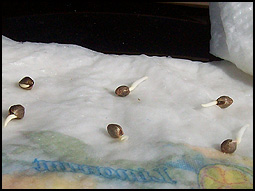
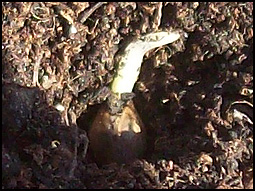
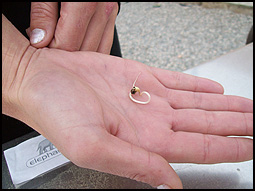
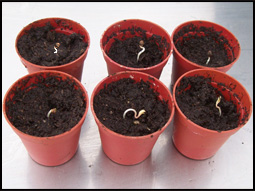
A little white root comes out of the seed.
PAY ATTENTION!
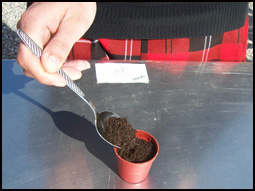
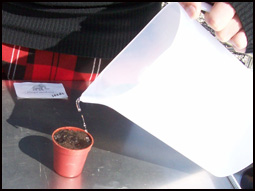
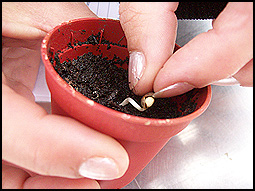
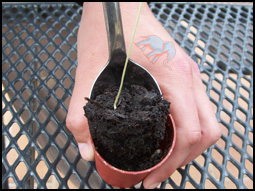
Germination soil is soil without any added nutrition mixed with 40% clean sand.
The baby plants will overdose and die if the soil is fertilized.
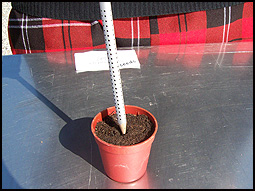
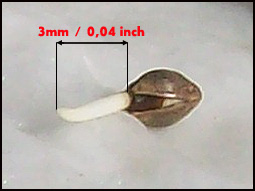
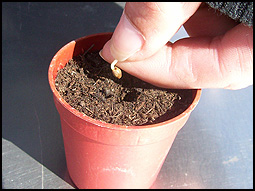
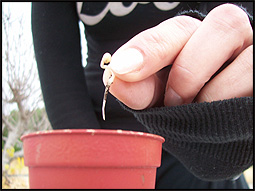
The root should be maximum 2 mm under the surface.
Make sure the marijuana seeds are still covered with soil after you have watered them.

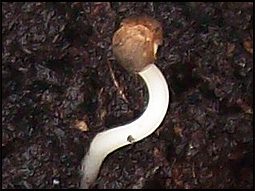
PAY ATTENTION!
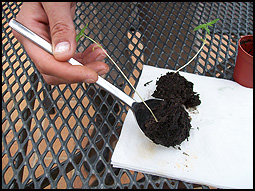
A very common mistake is to place the seed with the root pointing downwards.
The reason to place the seed with the root pointing upwards is because the root bent down after it had reached the size of 3 mm (0,12 inch)
So when the root is planted with the root up, the root will bend down itself to finally grow downwards.
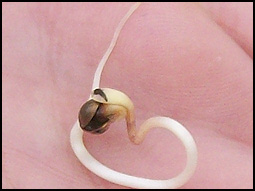
Maybe you were too late with planting, and the root has already made its curl? Then you have to plant the seed with the root pointing downwards.
After having studied several online germination manuals, we have noticed that there are a lot of commercial websites which offer incorrect information about how to place the seed properly in the soil.
You can conclude that a lot of online marijuana seed shops don't have a clue what they are talking about.
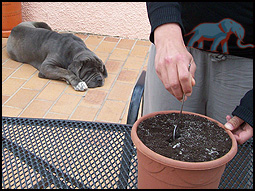
Now that the seeds are planted you have to pay attention to the following facts:
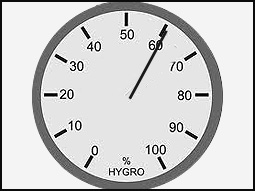
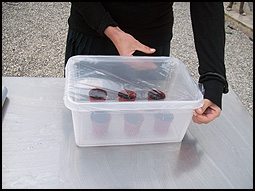
Humidity:
Young plants, especially baby plants, need a very high humidity.
Keep the percentage of humidity at least 85–90%.
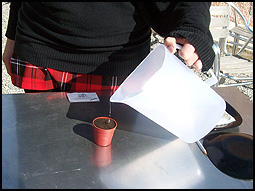
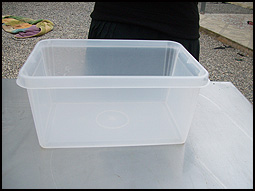
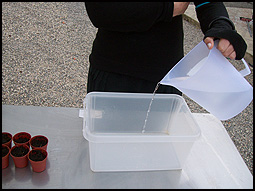
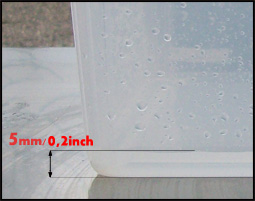
A method for keeping the humidity high is to place the little jars in a plastic box or similar, filled with a little layer of water (approx. 5mm, 0,2 inch).
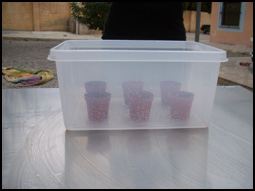
- Stretch some transparent foil over the pan to keep the humidity inside while the light still gets through.
PAY ATTENTION!
Keep the soil in the little jars wet; the plants will die when the soil dries up.
Check the water level into the pan daily.
Add extra water when the level is low
Light:
High pressure lamps or direct sunlight will be to much light for baby plants.
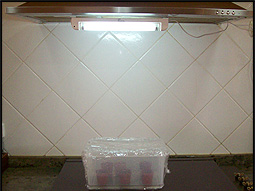
Keep the lamp permanently on.
-------------------------------------------------------------------------------------------------------------------------------
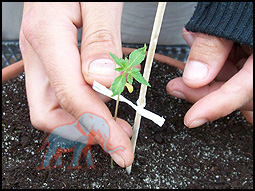
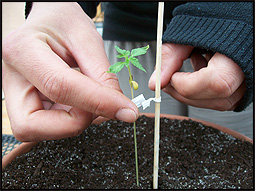
Day 10
-------------------------------------------------------------------------------------------------------------------------------
---------------------------------------------------------------------------------------------------------------------------
Day 20
--------------------------------------------------------------------------------------------------------------------------
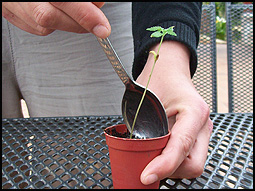
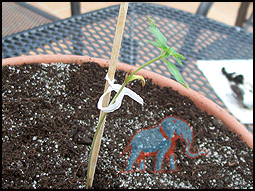
This jar still needs germination soil!
You do can carefully start adding a root stimulant.
It is still very important to keep the humidity high.
-------------------------------------------------------------------------------------------------------------------------------
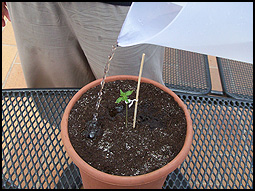
Day 25
-------------------------------------------------------------------------------------------------------------------------------
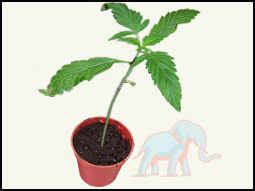
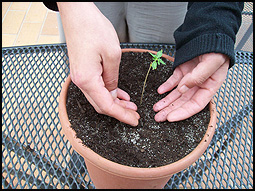
Now you can begin placing the plants under artificial light or slowly under sunlight.
Be sure that the humidity around the plant leaf stays above the 60%.
To handle the light requirements of this last phase of our germination manual, we divide our explanation into 2 parts:
Now the plant can be placed under the light you have chosen to grow the plants under.
A strong light intensity is not too important in this phase.
When you use more than one lamp, we recommend only using half of the available lamps in the beginning,
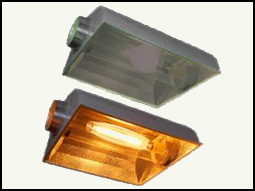
just to let the plants get used to the strong light. Switch to full capacity after a week.
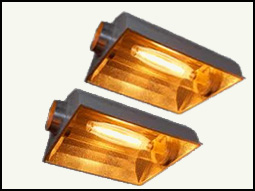
Light period indoors:
Start with 18 hours of light and 6 hours of darkness.
2) Light for outdoor use:
Now the plant can be placed under the light you have chosen to grow the plants under.
A strong light intensity is not too important in this phase.
Do not place the plants under direct sunlight, but in a shadowed spot for the first week.
After a week, you can put the plant in full sunlight.
Fertilizers:
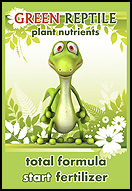
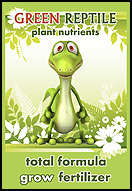
You can start carefully adding Green Reptile growth fertilizer to the soil.
PAY ATTENTION:
Using plant fertilizers is essential for a good end-result.
However, it is possible to ruin your harvest by overfeeding the plants.
So be careful with adding fertilizers and follow the descriptions, especially with a lack of experience.
Good luck!!!